
The bellhousing nuts are too close to the casting, making installation and removal difficult with the box spanners that I have. I managed to get them off, simply because the prevous person did not torque them down properly. The top stud came out of the block, so I blue-loctited it back in.

My plan is to slot the nuts across the flats, and use a big-ass screwdriver to tighten them. (A possible alternative is to weld a smaller nut on the back of the bigger one, but I think that would just look weird.)
Most of the grease and oil seems to be coming from the engine. The bad news there is that I HAVE to take the flywheel off now. I don't have a flywheel centering tool, and I'm not exactly sure how to do that. I do know that if its not centered correctly, it won't re-assemble easily or at all. My plan is to make a centering donut out of some relatively thick plastic. I can put it in a chuck and cut the outside diameter to match the inside dimension of the pressure plate. Then I can cut the inside of the donut to match the hub of the clutch disc. Its going to be a lot of extra work, but I want to insure that everything goes together properly.
It also concerns me that there are no bellhousing stud dowels (part P1/215). What did that do to the clutch and pressure plate? Was this the contributing factor to the pushrod failure? Must order two of those from Stewart Engineering.
Frelling Frickin' Grrrr. Big problem I noticed right away. The clutch pushrod is mangled. Its supposed to have a square head that fits in the clutch plate.
I noticed that the rear push mechanism was out of grease when I cleaned that up. It appears that the pushrod was wearing pretty badly. Not sure where the square end got screwed up, but that's going to need either replaced or repaired. From the looks of the rod, I don't even think its the right one. I think its just something someone put in there to make it work. Had the bearing in the back been properly lubricated, it probably wouldn't have failed.
Luckily everything else looks fine. The gear teeth are all in good shape; the dogs are nice and straight with no chunks taken out of them.
Today, I didn't have time to unfasten the main assembly from the casting, but I did take the rear propshaft out. It was absolutely fithly in there. The coupling donut (don't you just love that Hillman Imps have donut couplings too!!!) came out rather easily with a few taps. It went for a quick spraypaint to protect the plates. I may put some silicone fluid on the rubber to soften it up and let it expand. Its rather dried out, and I'd rather not replace it unless I have to.
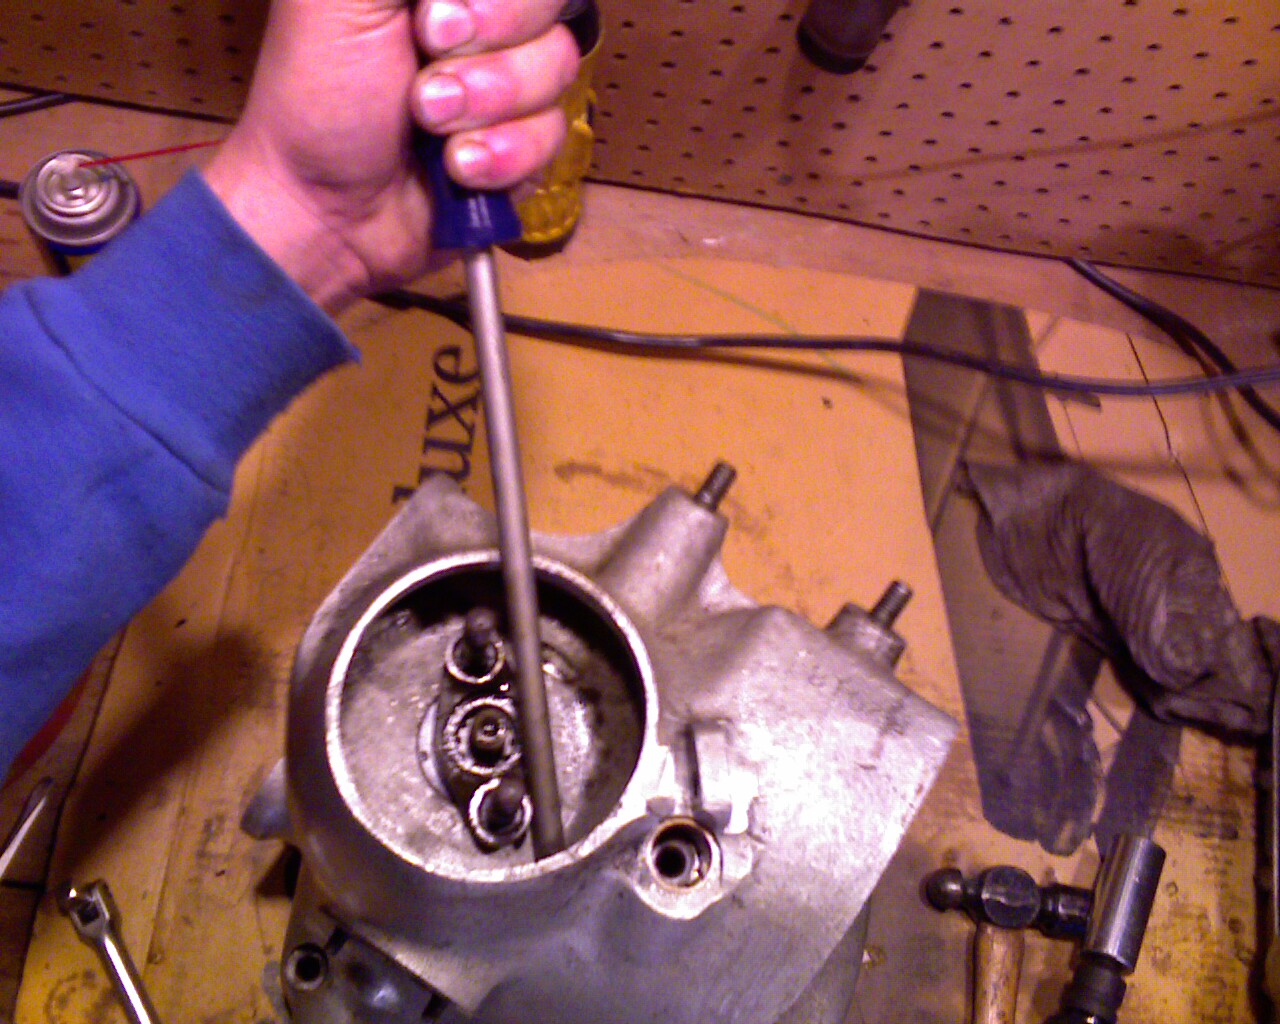
Anyway, the propshaft nut was REALLY tight. I didn't want to put undue stress on the dogs by locking the transmission by actuating both 2nd and 4th gears at the same time. So, I put a WD40 cap under the high gear fork and got out the impact hammer.
I braced the propshaft joint with a big ass screwdriver against the casting. Luckily the propshaft nut was 13/16" SAE and I managed to get it off with the pneumatic impact hammer. There was plenty of crap in the shaft seal, and I'm glad I'm going to all this effort. I think I spent more time cleaning the various parts of the gearbox than the actual disassembly.


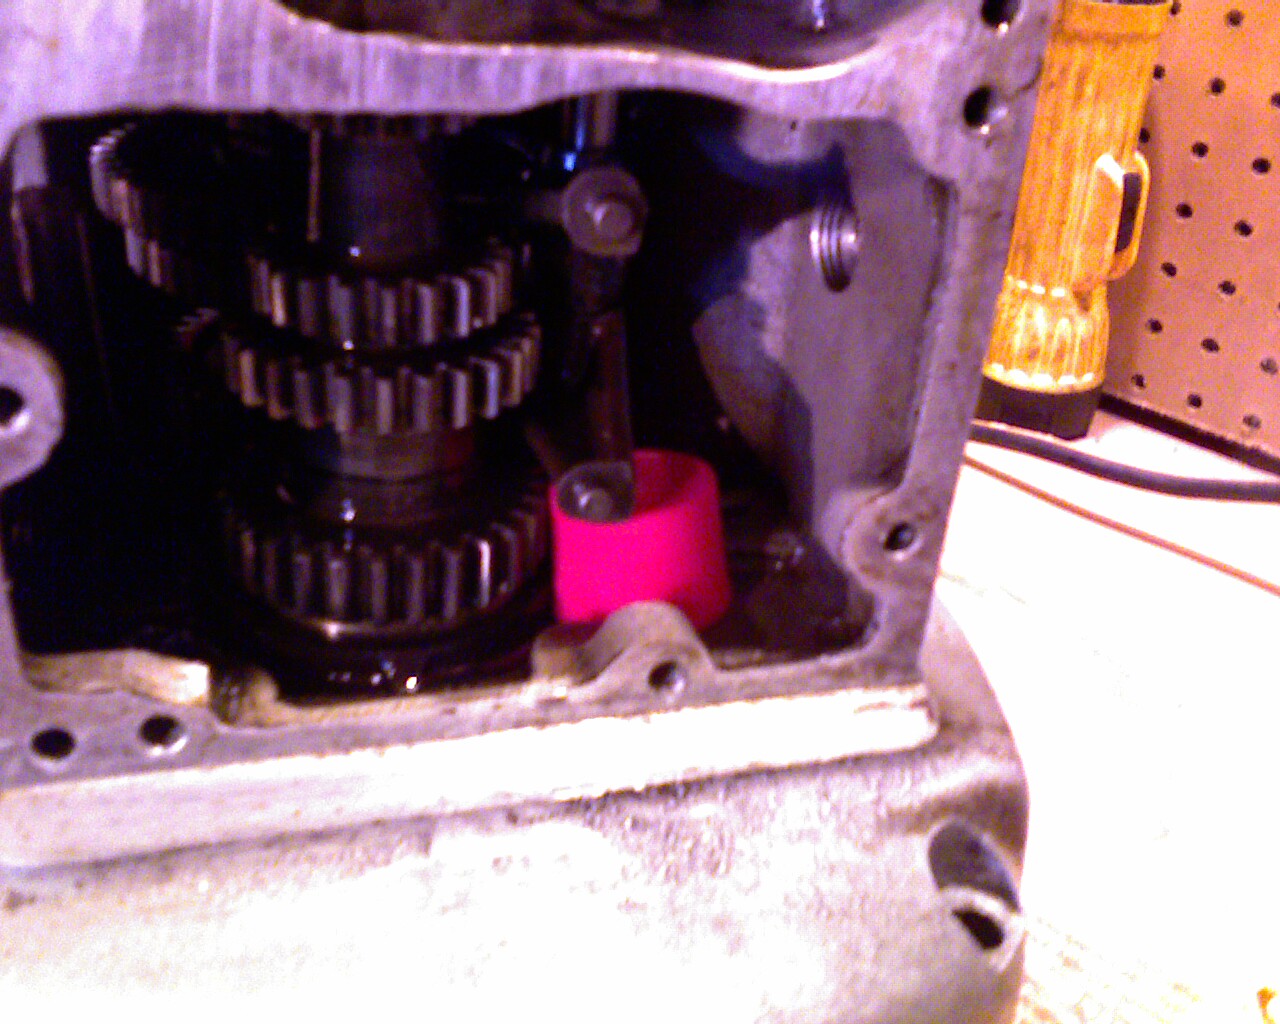
There are tricks to re-assembling the gearbox. First, put it on the bellhousing face. This allows the forward selector fork to engage fourth gear. Then put the gear selector in fourth. Connect the kickstarter temporarily and rotate it while pushing the sideplate into the housing. Push the sideplate into place while lifting the rear gear selector fork from the top hole until it meshes with the gear selector plate groove.
ReplyDelete